To use digital art tablets more effectively, it is necessary to optimize based on device characteristics, software functions, painting habits, and other aspects. Here are some practical suggestions to help you improve your user experience and creative efficiency:
I. Familiarize Yourself with Basic Device Operations and Complete Preliminary Settings
Calibrate Pressure Sensitivity and Customize Shortcuts
Pressure sensitivity is one of the core advantages of digital painting. Calibrate the pressure sensitivity through device drivers (such as Wacom Tablet Properties for Wacom, PenTablet for XP-Pen, etc.) to match your painting strength habits (light touch for thin lines, strong pressure for thick lines).
Customize shortcuts: Assign commonly used functions (such as undo, save, switch between brush/eraser, zoom in/out of the canvas) to the physical buttons or touch rings of the drawing tablet, reducing the time spent frequently switching between the mouse and keyboard. For example, set "undo" as a side button and "zoom in on the canvas" as a touch ring slide to improve operational fluency.
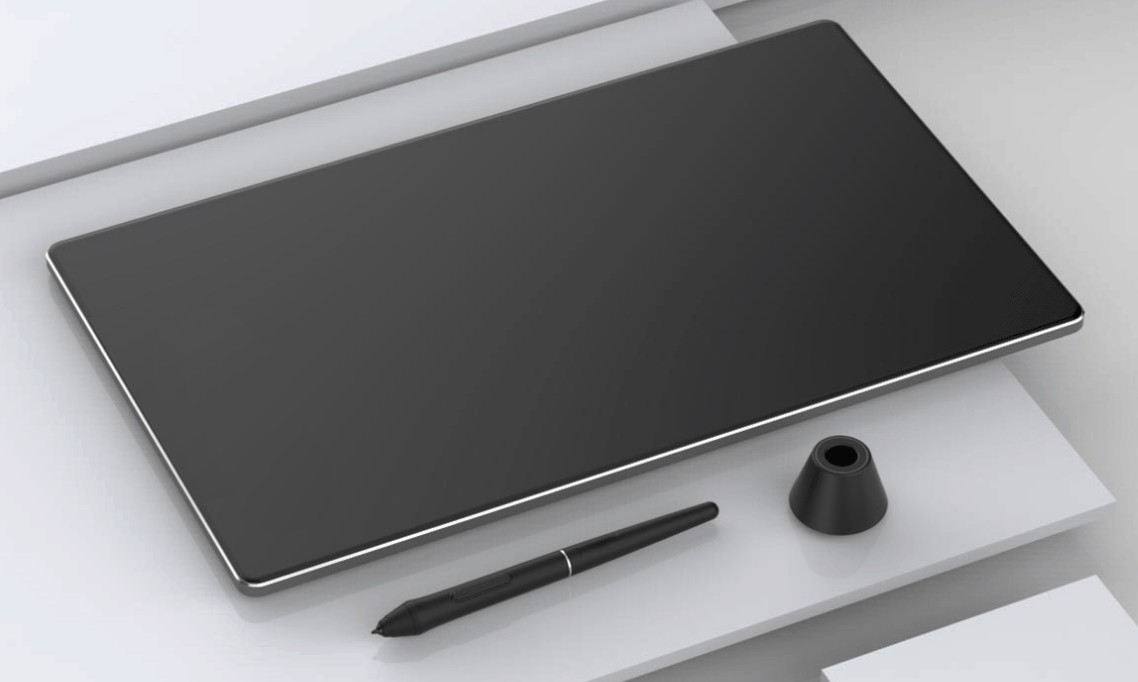
Choose the Right Nibs and Grip Posture
Different nibs (such as standard, felt, elastic) provide different friction sensations: felt nibs simulate the feel of traditional brushes, suitable for fine lines; standard nibs are smoother, ideal for quick color blocking.
Maintain a natural grip posture and avoid excessive force (digital pens do not need to press the paper like pencils) to reduce hand fatigue. You can use a pen grip cover (such as a silicone pen cover) to improve comfort.
Adjust Screen and Drawing Tablet Mapping
If using a "drawing tablet + computer screen" combination, ensure that the drawing tablet area is accurately mapped to the screen display area (set "screen mapping" through the driver) to avoid misalignment between the pen tip movement and the cursor position.
For pen displays (such as iPad Pro + Apple Pencil, Wacom Cintiq), adjust the screen brightness and color gamut according to your habits (it is recommended to match the color space of commonly used software, such as sRGB) to reduce color difference issues.
II. Master Software Functions to Improve Creative Efficiency
Make Good Use of Layers and Masks
Layers are the "fault-tolerance 神器" of digital painting: separate line art, coloring, shadows, highlights and other elements in different layers, so that you don't have to destroy the overall picture when modifying. For example, the line art layer is at the top, followed by the base color layer and shadow layer below, making it easy to adjust a certain part individually.
Layer masks can be used for local modifications (such as erasing excess colors, gradient transitions), avoiding direct deletion of pixels and facilitating later backtracking and adjustments.
Customize Brushes and Presets
Mainstream painting software (such as Photoshop, Procreate, Clip Studio Paint) comes with a rich brush library, but a more efficient way is to customize brushes: adjust parameters such as brush texture, flow, transparency, and shape dynamics according to creative needs, save them as presets (such as "sketch pencil", "watercolor smudge", "thick paint texture"), and call them directly later.
Import high-quality brush resources: Many artists share free/paid brushes (such as KyleT brushes, Procreate official brush packs). Making good use of these resources can quickly simulate traditional media effects (such as oil painting, markers, ink wash).
Use Auxiliary Tools to Simplify the Process
Perspective Grid: When drawing buildings and scenes, use the software's built-in perspective tools (such as "perspective ruler" in Clip Studio Paint) to ensure that the lines conform to the principles of perspective and avoid image distortion.
Symmetry Tool: When drawing symmetrical patterns (such as character faces, patterns), enable horizontal/vertical symmetry. You only need to draw half, and the software will automatically generate the symmetrical part, saving time.
Reference Window: Open reference images (such as human body structure, clothing details) in the software and float them next to the canvas, eliminating the need to frequently switch windows and facilitating copying or reference.
III. Optimize Workflow to Reduce Operational Redundancy
Establish File Management Habits
Save files by project classification (such as "character design/sketch", "scene illustration/final draft") and back up regularly (cloud storage such as Google Drive, local hard disk) to avoid file loss.
Save intermediate process drafts: Use the "save as" function to save versions at different stages (such as "line art_v1", "coloring_v2") to facilitate later comparison or rollback modifications.
Combine Shortcuts and Gesture Operations
In addition to the physical shortcuts of the drawing tablet, memorize the built-in keyboard shortcuts of the software (such as "B" to switch to the brush, "E" to switch to the eraser, "Ctrl+T" for free transformation in Photoshop), and using them together can double the efficiency.
Pen displays or tablet devices can use gestures: for example, in Procreate, pinch with two fingers to zoom out the canvas, slide down with three fingers to undo, and long-press with one finger to move the canvas, reducing dependence on the pen.
Reasonably Allocate Creation Stages
Avoid overthinking at one stage: first quickly determine the composition and general shape with the "sketch layer", then refine the line art, and finally color in layers. For example, use a hard-edged brush with low opacity to sketch, and then use thin lines to outline after determining the dynamics, avoiding repeated erasing and modification to save time.
IV. Conduct Targeted Practice to Adapt to the Characteristics of Digital Tools
Adapt to the Feel of "No Paper Feedback"
Traditional painting relies on the friction of the paper surface, while digital pens are smoother on smooth screens/boards, which may make it difficult to control lines initially. You can adapt to pressure changes through "line exercises" (such as drawing straight lines, curves, circles), or stick a "paper-like film" on the surface of the drawing tablet (to increase friction and simulate the feel of paper).
Use Digital Tools to Make Up for Shortcomings
For example, when you are not familiar with the human body structure, use the software's "3D model reference" (such as 3D figures in Clip Studio Paint, simple models exported from Blender) to adjust the dynamics, and then draw on this basis to avoid proportion errors.
When coloring, use the "fill tool" (with the "selection" function) to quickly lay large areas of base color, and then use "airbrush" and "soft-edged brush" for transitions, which is more efficient than manual coloring.
Learn Advanced Software Skills
Study the creative processes of industry experts (such as YouTube tutorials, live replays) to learn how they use "adjustment layers" (such as hue/saturation, curves) to unify the color tone of the picture, or use "blending modes" (such as multiply for shadows, overlay for brightening) to enhance the sense of hierarchy in the picture.
V. Maintain the Device to Extend Its Service Life
Regularly clean the surface of the drawing tablet and the nib to avoid dust affecting the pressure sensitivity;
When not in use, place the pen in the pen holder (to avoid falling) and turn off the device power (to save power);
If the device has problems such as delay or pressure sensitivity failure, check if the driver is updated, or try restarting the device to fix it.
Through the above methods, you can give full play to the advantages of digital drawing tablets and make creation more smooth and efficient. The key is to practice more, explore more software functions, and gradually form a workflow suitable for yourself - the core of digital tools is to "serve creation". There is no need to pursue "mastery of all functions", but to focus on skills that can improve your personal efficiency.

WeChat official account

WeChat consultation
